
Short answer: Yes, rear bias lighting demonstrably reduces visual fatigue—provided you work in low ambient light and project onto a neutral wall.
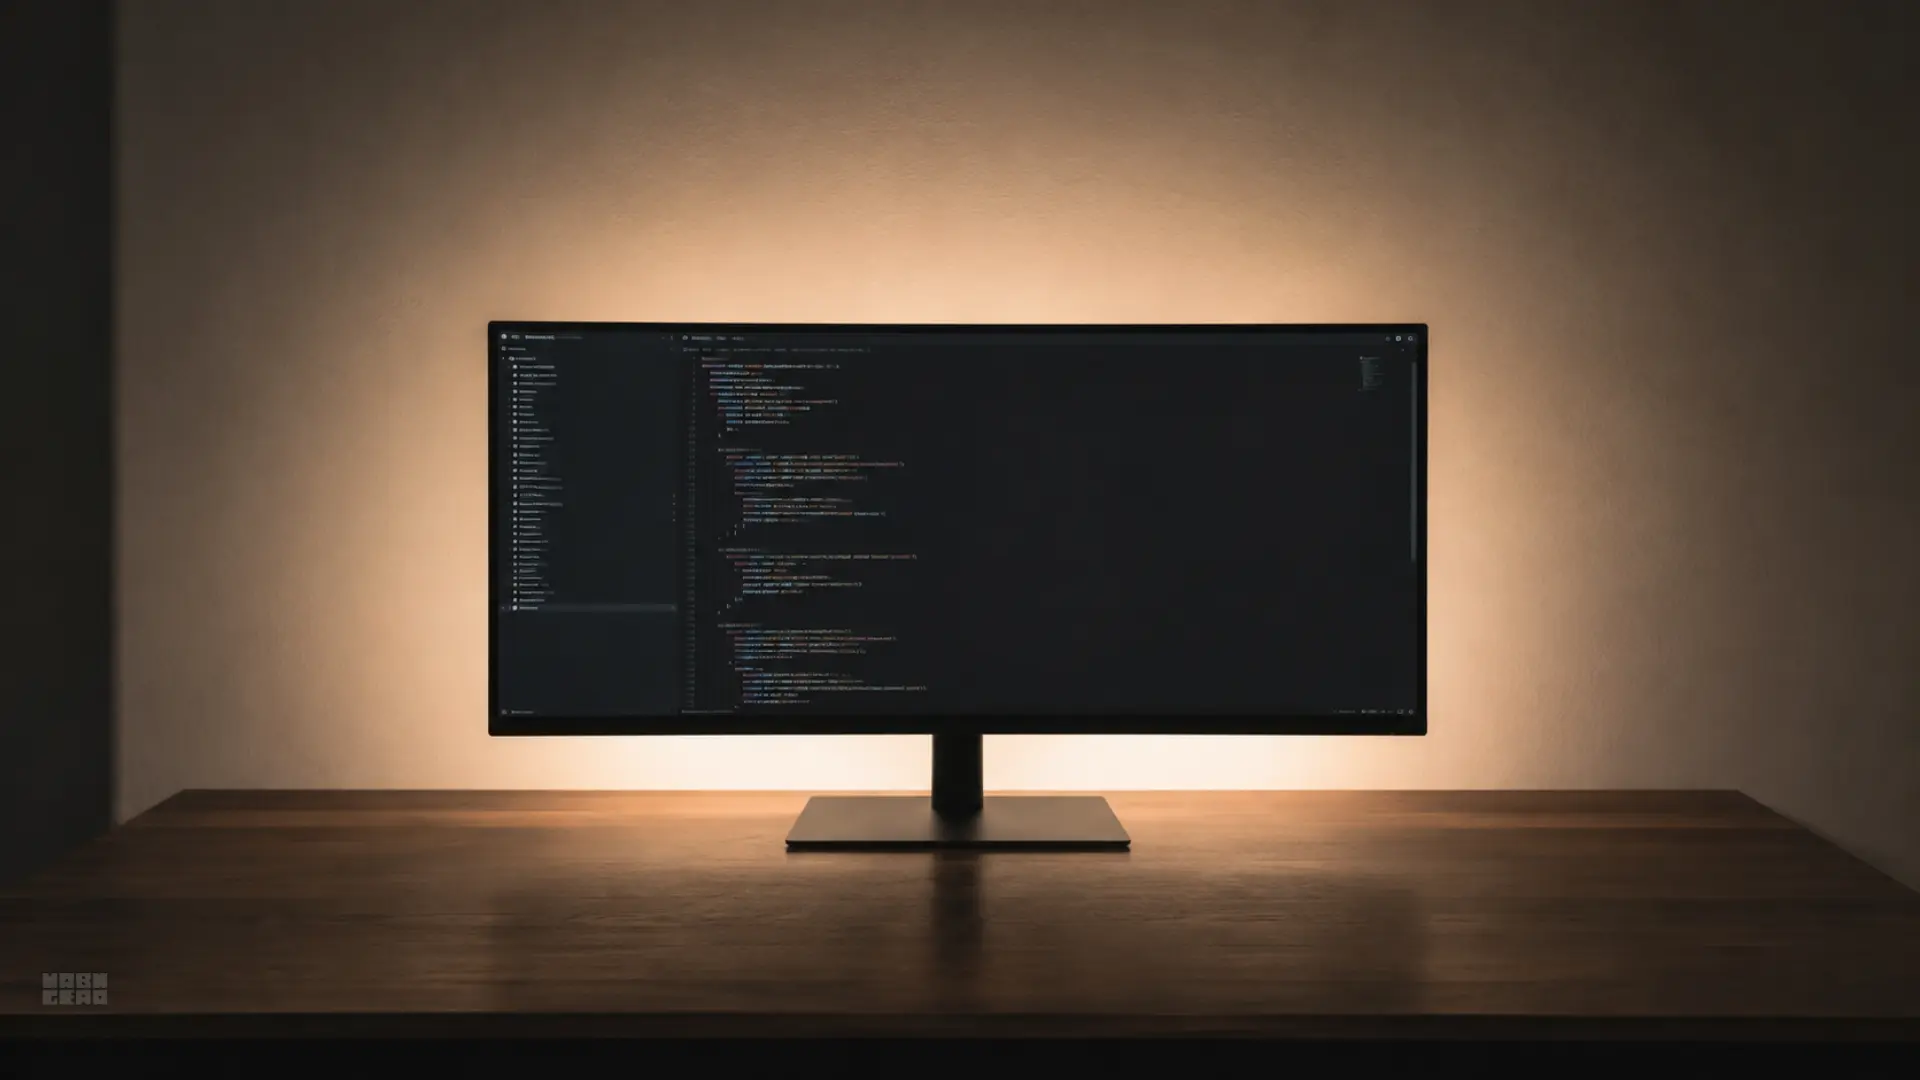
It does not work by magically softening the pixels on your screen. It works by eliminating the luminance penalty: the constant pupillary contraction and dilation that occurs when your eyes glance between an illuminated 150-nit display and a pitch-black background.
However, if your room already has adequate daylight or ambient light, if your desk is pushed flush against drywall, or if you use rainbow RGB modes, bias lighting is wasted money.
Bias lighting is an environmental contrast equalizer, not a work surface illuminator. If your keyboard or paperwork is dark, you need a task lamp or a monitor light bar with a down-firing beam. Bias lighting only solves what happens on the wall behind the glass.
The three types of desk lighting compared
Before mounting an LED strip behind your display, confirm which lighting deficiency is actually causing your eye fatigue:
Lighting Type | Direction | Primary Ergonomic Job | When You Need It |
|---|---|---|---|
Desk Lamp (Task Light) | Downward onto desk | Illuminates physical paperwork, notebooks, and keyboard | When desk documents are hard to read |
Monitor Light Bar | Asymmetric front down-angle | Clears keyboard zone without casting specular screen glare | When desk space is tight and desk lamps cause glare |
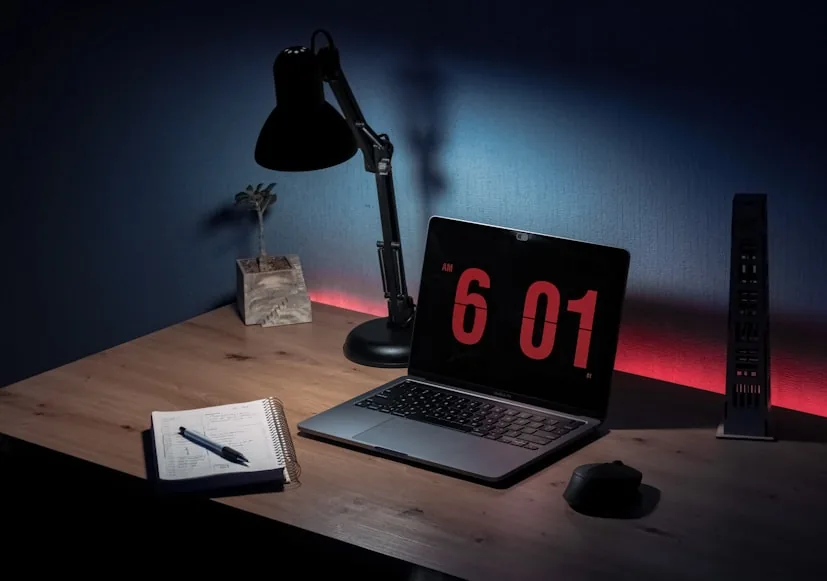
Bias Lighting | Rearward onto back wall | Raises ambient surround luminance to reduce contrast shock | When working in dark or dim rooms after sunset |
Swipe sideways to compare the full chart.
If you need front-of-screen illumination rather than wall glow, read Do you need a monitor light bar if you already have a desk lamp or compare front vs. dual-beam units in BenQ ScreenBar Halo vs ScreenBar Pro.
The optical physics: Why dark rooms cause eye fatigue
Your eyes contain two primary muscle groups controlling light intake: the iris sphincter (which constricts the pupil in bright light) and the iris dilator (which opens it in darkness).
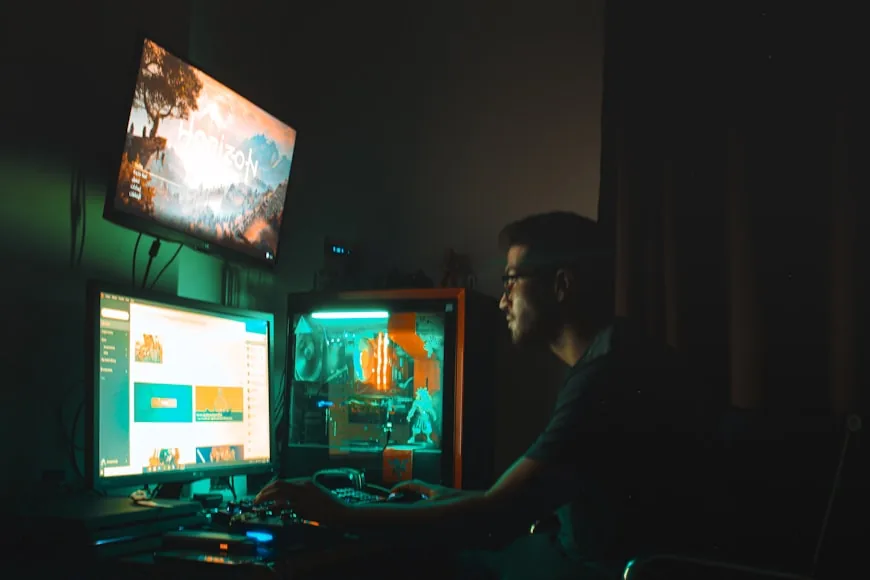
When you sit in a dark room with a bright 150 to 250 cd/m² monitor:
Foveal vs. Peripheral Adaptation Conflict: Your central foveal vision focuses on high-luminance white web pages, spreadsheets, or code editors, signaling the brain to constrict your pupil. Simultaneously, your peripheral vision registers near-zero lux across the rest of the room, signaling the pupil to dilate.
Ciliary Muscle Fatigue: Every micro-saccade (the tiny eye movements your vision makes hundreds of times per minute between the display edges, your desk, and the dark boundary) forces the iris muscles to constantly flex and relax. Over 4 to 8 hours, this constant muscular micro-adjustment triggers asthenopia (eyestrain, tension headaches, and dry eyes).
Perceived Contrast Enhancement: Illuminating the surround wall slightly closes the pupil aperture, which physically sharpens perceived edge contrast and deepens on-screen black levels without altering the panel's actual hardware output.
This is supported by empirical research. A landmark study by the Lighting Research Center at Rensselaer Polytechnic Institute (Bullough et al., 2006) demonstrated that surrounding illumination significantly reduced visual fatigue and prolonged blink latency during screen viewing compared to viewing in unlit rooms.
When bias lighting is worth buying
Bias lighting delivers measurable ergonomic benefits under four specific conditions:
Dim or nighttime workflows: You regularly work after sundown or in rooms with ambient illumination below 50 lux.
High-contrast work (Coding, Text, Spreadsheets): You spend extended hours viewing stark light-theme interfaces or text against dark IDEs.
The monitor has at least 6 inches (15 cm) of wall clearance: The light needs physical distance to scatter into a soft, even gradient field rather than a harsh localized hotspot.
The wall is matte white, eggshell, or neutral gray: Standard neutral paint acts as a diffuse Lambertian reflector.
When bias lighting is a complete waste
Skip bias lighting and invest elsewhere on your desk if any of the following apply:
Your room is already well lit: If ceiling fixtures, daylight, or floor lamps already provide 300+ lux of diffuse ambient illumination, the rear strip will be visually imperceptible.
A bright window sits directly behind the monitor: Daylight will completely overpower the LEDs, and backlit window contrast requires shades or orientation changes instead. See Why screen glare makes your eyes tired.
The monitor is jammed flush against the wall: If clearance is less than 3 inches (7–8 cm), the individual LED diodes will show as distinct, distracting scallops of light, creating hot spots that worsen visual distraction.
You plan to run saturated RGB colors: Saturated red, green, or magenta backlights disrupt color constancy and trigger chromatic aberration in the human eye lens. For ergonomic comfort, only high-CRI white light works.
The engineering setup rules: Getting it right
To prevent your bias light from hurting contrast or causing more distraction, calibrate according to industry standards:
1. The 10% Luminance Rule (SMPTE ST 2080-3)
According to Society of Motion Picture and Television Engineers (SMPTE) and Imaging Science Foundation (ISF) specifications, the luminance of the wall directly behind the monitor should be calibrated to approximately 10% of the display's peak white level.
The calibration test without a lux meter: Open a full-screen pure white document or blank browser tab on your display. Place a standard sheet of matte white printer paper flat against the wall directly beside or behind your monitor. Adjust the bias light dimmer until the white paper looks slightly dimmer than the white screen—never brighter. If the wall competes with the screen, dim the LEDs immediately.
2. Color Temperature (CCT) & High CRI
Target D65 (6500K): The vast majority of consumer displays, operating systems, and sRGB/Rec.709 color spaces are calibrated to a 6500K white point. Your bias light should match this spectrum.
Avoid warm 2700K strips behind cold screens: Placing warm candlelight-style LEDs behind a 6500K IPS panel creates a chromatic clash that forces your brain to recalibrate white balance continuously. (For deeper color science, read Best colour temperature for home office lighting).
Demand High CRI ($\ge 90$): Cheap $10 USB strips use low-CRI diodes with severe spectral spikes in the blue and green bands and gaps in red. A high Color Rendering Index ($\ge 90$) ensures smooth, non-fatiguing spectral distribution.
3. Wall Distance Geometry
The light projecting from an LED strip spreads outward in an approximate 120-degree cone. To allow the light from adjacent diodes to overlap and diffuse:
Ideal clearance: 15 cm to 30 cm (6 to 12 inches) between the monitor chassis and the wall.
Inset the strip: Mount the adhesive strip 2 to 3 inches inward from the outer perimeter of the display casing. This prevents direct line-of-sight exposure to the bare diodes when viewing the desk from slight angles.
Two proven hardware approaches
You do not need an elaborate smart-home lighting ecosystem. You need stable power, high-CRI white LEDs, and fine-grained dimming control.
The complete one-clamp solution: down-firing asymmetric task lighting for your keyboard combined with a tunable rear bias light.
- Integrated rear bias light with independent dimming and 2700K–6500K tuning
- Patented asymmetric optical design prevents front screen glare
- Wireless desktop dial controls both front and rear light zones independently
A purpose-built USB-powered D65 (6500K) true white LED bias strip engineered specifically for back-of-monitor eye strain reduction.
- Calibrated 6500K white point matching standard sRGB computer displays
- High-CRI phosphor output eliminates chromatic fringing and phosphor spikes
- USB-powered with inline physical dimmer control
If you already own a dedicated desk lamp that cleanly covers your writing zone, a dedicated high-CRI 6500K strip like the Luminoodle is the most cost-effective solution.
If your desk is cramped and you want to eliminate both screen reflections on your documents and surround contrast on your back wall using a single USB-C cable and zero desk footprint, the BenQ ScreenBar Halo 2 is the premier integrated platform.
Common installation mistakes to avoid
Mounting LEDs on the wall facing forward: The light must bounce off the wall diffusely. Exposing bare diodes directly to your eyes destroys night adaptation.
Placing strips along the bottom bezel: Bottom-mounted strips cast light downward onto the desk surface, which reflects off your desk mat or laptop lid directly back into the monitor glass. Stick to the top edge and vertical sides.
Leaving brightness on maximum: A bias light that is too bright destroys perceived panel contrast, turning rich IPS blacks into cloudy dark grays.
Treating bias light as a cure for poor monitor posture: If your screen is too high or tilted backward, neck strain will persist regardless of wall lux. Cross-reference How high should your monitor be for good posture.
The bottom line verdict
Bias lighting is not an aesthetic gimmick—it is an optical engineering tool designed to solve a specific physiological mismatch between bright electronic displays and dark rooms.
If you work late hours and your monitor feels like a blinding flashlight against an unlit room, adding a calibrated 6500K rear glow will immediately take the edge off visual fatigue. If your room is already brightly illuminated or your desk lacks wall clearance, skip the strip and focus your budget on a proper ergonomic chair or a dedicated task light.
For a complete step-by-step layout of how lighting coordinates with chair and monitor placement, see How to set up an ergonomic home office — the complete checklist.