
The difference between a professional-looking video call and an amateur one is almost never the camera. It is the lighting.
A $50 webcam with good lighting looks better than a $200 webcam with bad lighting. The camera captures what the light reveals, and most home office lighting is positioned for desk work, not for illuminating a face on camera.
This guide covers the three-light setup that professional videographers use, adapted for home offices with minimal equipment.
The three-light setup, simplified
Professional video uses a three-point lighting system: key light, fill light, and back light. For home office video calls, you can achieve 90 percent of the effect with two light sources and one positioning adjustment.
Key light (the main light)
The key light is the primary light source illuminating your face. It should be positioned:
In front of you, slightly to one side (left or right of the camera)
Above your eye level, angled down at approximately 30 to 45 degrees
At a distance of 60 to 100cm from your face
The key light does most of the work. If you only have one light source for video calls, this is the one to get right.
Common mistakes:
Placing the key light behind the monitor (creates backlight, making your face dark)
Placing the key light directly above (creates harsh shadows under eyes and nose)
Placing the key light to the side at face level (creates uneven illumination and visible shadows on one side)
Fill light (the shadow reducer)
The fill light sits on the opposite side of the camera from the key light. Its job is to soften the shadows created by the key light, creating a more even, flattering illumination.
For home offices, the fill light does not need to be as bright as the key light. A desk lamp at 30 to 50 percent of the key light intensity, or a white wall that reflects the key light, is usually sufficient.
If you do not have a second light source, a white poster board or sheet of paper positioned opposite the key light can bounce enough light to fill the shadows.
Back light (the separator)
The back light separates you from the background by illuminating the wall or space behind you. It prevents you from blending into a dark background and adds depth to the image.
For home offices, the simplest back light is:
A lamp positioned behind you and above, aimed at the wall
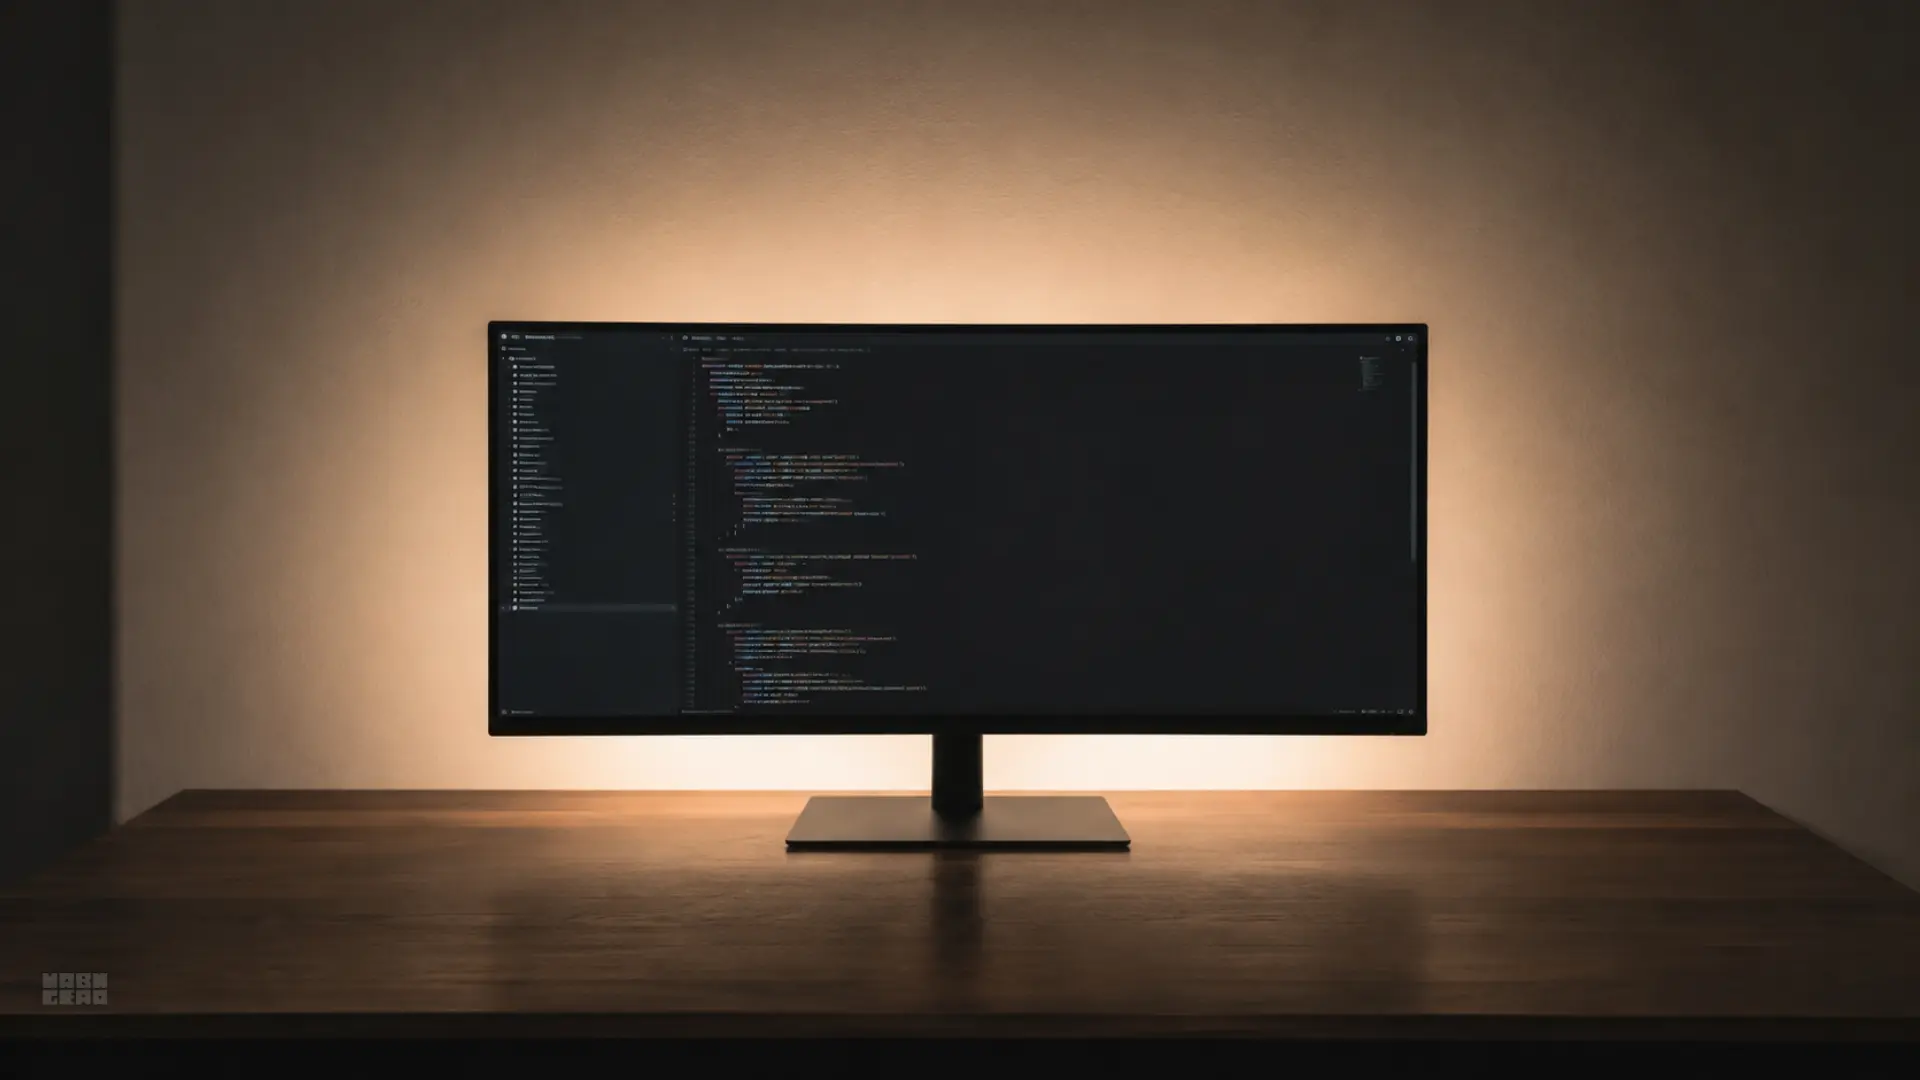
An LED strip behind the monitor that illuminates the background
A lamp on a shelf or cabinet behind you
The back light should be dimmer than the key light. If it is too bright, it creates a halo effect. If it is too dim, it does not separate you from the background.
The colour temperature for natural skin tones
The colour temperature of the light on your face determines how you look on camera.
2700K to 3000K (warm): Makes skin look yellowish or orange. Common in living rooms with incandescent bulbs. Unflattering on camera.
4000K to 5000K (neutral): Renders skin tones most naturally. This is the colour temperature of overcast daylight and professional video lighting. The best default for video calls.
6500K+ (cool/daylight): Makes skin look pale or blueish. Common in offices with fluorescent lighting. Can look clinical.
For video calls, aim for 4000K to 5000K on your face. This means the light source illuminating you should be neutral to slightly cool white, not warm white.
The position that matters most
The single most impactful change for video call lighting is moving the light source from behind the monitor to in front of it.
Most home offices have the ceiling light or desk lamp behind or above the monitor. This means the light hits the back of your head and the top of your shoulders, but your face is in shadow because the monitor is between you and the light source.
The fix:
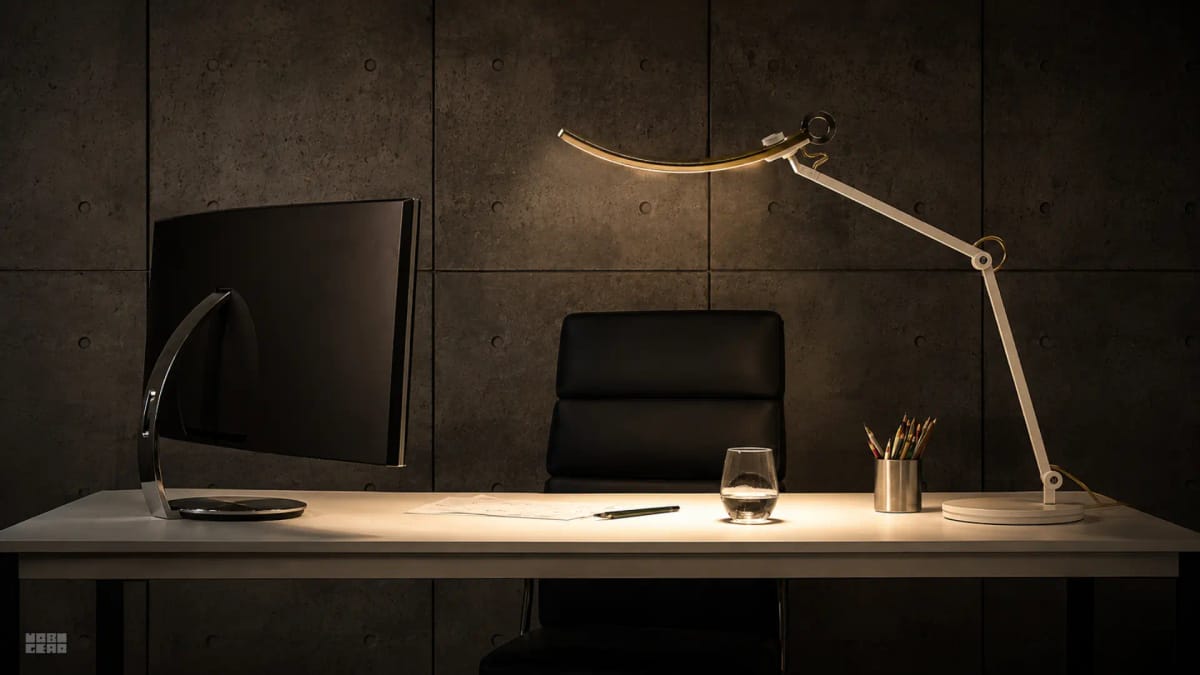
Move the desk lamp to the side of the monitor, between the monitor and you
Angle it toward your face, not the desk surface
If the desk lamp is too low, raise it on a stack of books or a small stand
This single change — moving the light source to illuminate your face instead of your desk — eliminates most video call lighting problems.
The background matters too
A well-lit face against a dark, cluttered background still looks unprofessional.
Keep the background simple. A plain wall, a bookshelf, or a tidy workspace. Avoid windows behind you (creates backlight) and dark corners (creates visual depth that makes you look isolated).
Add subtle background light. A lamp in the background, an LED strip behind the monitor, or a wall sconce creates a sense of depth and prevents the "person in a black void" look.
Match the background brightness to your face. If your face is well-lit but the background is very dark, the contrast looks unnatural. If the background is very bright, you look silhouetted. The background should be 50 to 70 percent as bright as your face.
The quick setup for one-light budgets
If you only have one light source for video calls:
Position a desk lamp to the side of the monitor, between the monitor and you
Raise it to slightly above eye level (use a stack of books if needed)
Aim it at your face at a 30 to 45 degree angle
Switch the bulb to 4000K to 5000K
Dim it until your face is evenly lit without harsh shadows
This gives you a key light that covers 80 percent of the professional video lighting effect. The remaining 20 percent comes from fill and back lights, which you can add later.
What to avoid
Overhead ceiling lights only. These create shadows under your eyes, nose, and chin. They are the worst primary light source for video calls.
Windows behind you. Backlight turns your face into a dark silhouette and blows out webcam sensors. Meanwhile, facing an unshaded window head-on causes squinting and blown-out skin highlights. Our breakdown on whether your desk should face the window explains how a perpendicular side-window orientation provides soft, natural fill light without camera exposure issues.
Warm white bulbs on camera. 2700K light makes skin look yellow on camera. Switch to 4000K+ for calls.
Ring lights without diffusion. Ring lights create a distinctive circular reflection in your eyes that can look unnatural. If you use a ring light, add a diffusion layer to soften the effect.
Bottom line
The most impactful video call lighting fix is moving your light source from behind the monitor to in front of it, angled toward your face. Add a 4000K to 5000K bulb for natural skin tones, and you have 90 percent of a professional lighting setup.
Products for video call lighting
These products cover the three most common video call lighting budgets.
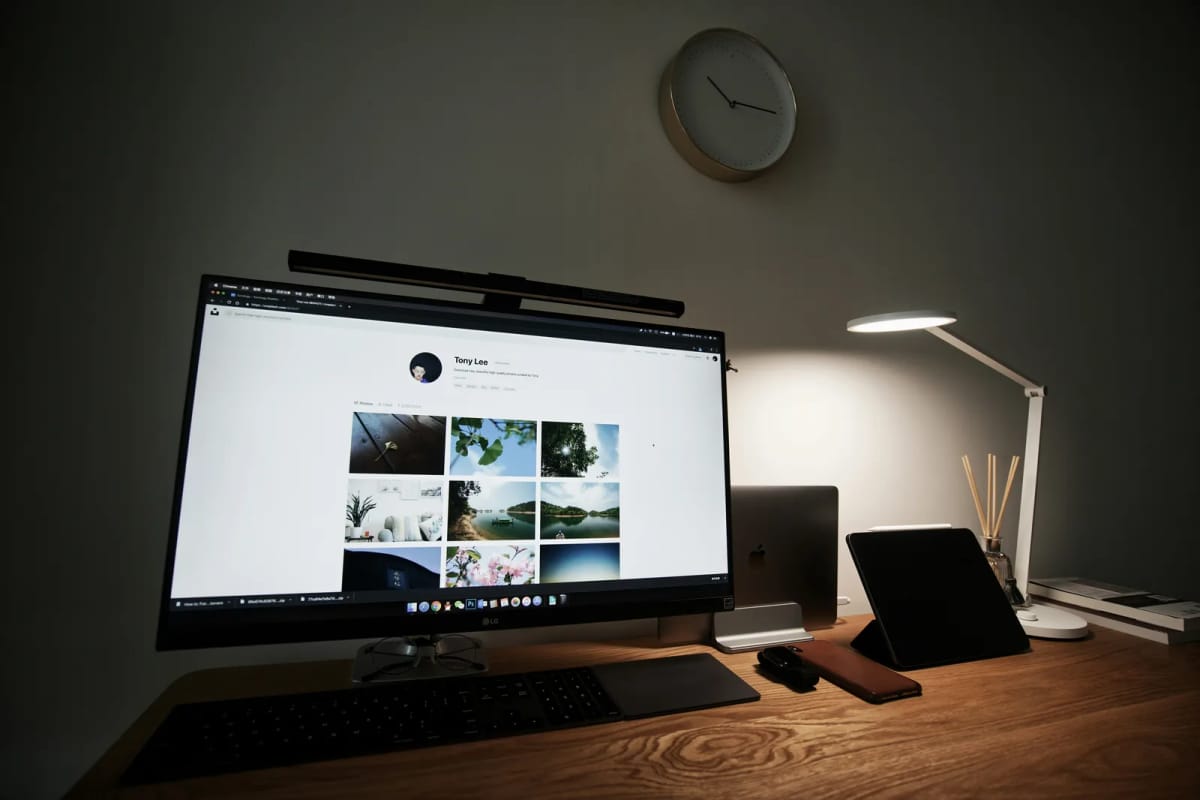
Monitor light bar with rear bias lighting. The built-in backlight doubles as a subtle fill light for video calls when positioned to the side.
- Rear bias lighting
- Auto-dimming sensor
- No screen glare
Monitor light bar with manual brightness control. Position to the side of the monitor and aim toward your face for an affordable key light.
- Wired dial control
- Adjustable brightness
- Compact desk footprint